Friday, 31 October 2008

More play

I belong to a Milliande's creativity group and many topics and ideas are discussed, as well as various tutorials. One that I recently looked at and decided to try was the "scanner art". You just place an object on the scanner bed, add things behind it ( if you wish) and scan with the lid open. Add a frame and or border around the art, even play with different textures etc in the photo program.


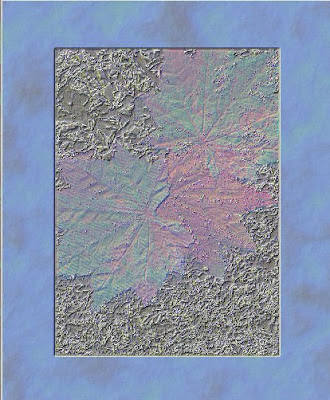
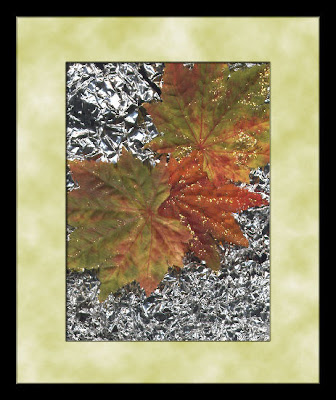
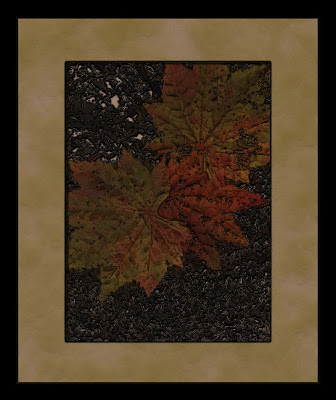
For the first one I laid some fabric autumn leaves on the scanner then added crumpled tinfoil over the top, cropped it and added a frame and border. The second one is the same pic done as the hot wax coating on the Artistic Effects in Corel PSPX. The third one was Neon Glow in the Artistic Effects in PSPX.

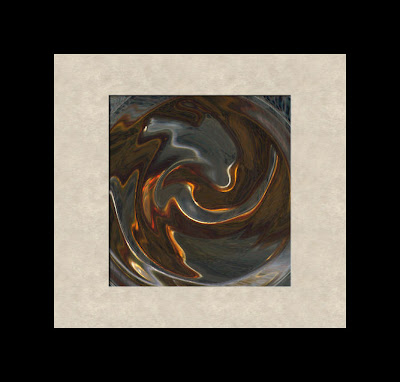
The last picture is a deoderizer block that I scanned and then distorted in the effects menu on PSPX, then added a frame and border.
This was great fun, and I think these would make great ATC's.

Thursday, 30 October 2008

Play Day

Today I just decided to play with different things. I found a link to funky-dyed paper towels via one of my groups and gave it a try. Mine did not turn out with the "splotchy" look that the samples on the tutorial had on them, at http://ladycherie1.blogspot.com/. Not sure why, perhaps not enough water, different powered microwave? Will have to play more with this technique, however, I am still happy with the results.


Monday, 20 October 2008

It-girl for October

This month on Artventure Chrissy is the "It Girl" and she chose Nature as her theme. I am running out of ideas for something unique, but decided to do another canvas for this month.

I started out by doing a canvas which represented a misty day...i.e. the saying I used. This is my first attempt, however, I was not completely happy with the whole thing. The saying stuck out like a sore thumb and all attempts to make it better failed.
So back to the drawing board!! I love autumn because where I live all the leaves change colour and they are just beautiful. This made me think of another idea for the It-Girl canvas. I gessoed over the original one, then painted it with yellow, green and orange paint.

When it dried, I added tree trunks then the "leaves" with a larger paint brush using red, orange
and green arcylics; I added brown and yellow on the bottom to simulate the forest ground. Added some bushes with the green acrylic.

Still not quite right, so I printed off some birds and squirrels and added them, because anytime I have been in a forest they are always around. I think I am finally happy with it and hope Chrissy will like it.

So what do you think? Any comments or critiques would be appreciated.

Saturday, 18 October 2008

A surprise for Jessie

My friend Jessie has had lot on her plate lately and our group decided to plan a surprise book and each of us made a page and mailed them off to be made into a chunky book.

Jessie has received the book now so I can post the pictures. I was happy to participate in this book as Jessie is so encouraging and such an inspiration to me.

I know Jessie loves colour, grunge, texture...well just about anything goes in her creative world. I decided to make my page in reds hues as I had a freebie image that I really liked.

I started off by painting the page and added the image when it dried. I then took some cheesecloth and soaked it in some decoupage type glue and draped it around the right side of the picture. I added some red acrylic paint over the top, then added some acrylic gold mica flakes over parts of it.

The left side still needed "something" so I added some crackle paste and again coloured it with red and brown acrylic paint. As a finishing touch I dabbed some light gold acrylic paint around the whole piece.

I completed the page with the little heart button and some velvet ribbon in a ribbon slide.

The back is just painted with acrylics. I ripped out a piece of Mulberry Paper and stamped the sentiment with Versafine Onyx Black ink and added it. I was going to do more with the back but feel the sentiment says it all.

Wednesday, 8 October 2008

Board book Spread 5

Step 1. Pages were sponged with gesso, then painted with black acrylic paint. Various metallic paints were dripped on the pages and then the pages were closed and held shut; I smoothed the pages down to distribute the paint over the pages. Opened up the pages...what magic .!! Love this technique-the paint looks like ferns and branches and a big bug right in the centre. LOL


Board Book Page 4

While waiting for the page to dry I made an embellishment. The instruction was to use stamps that were not Asian but to end up with something which looked Asian. I made mine from air dried clay and painted it with acrylic and metallic paints. You will see this further along in this post.

Step 1: A layer of Gesso was sponged then cheap glue added randomly over the page. When dry another coat of gesso was applied, dried again red paint was brushed on. Gold acrylic paint was rubbed over the pages to accent the ridges from the glue.

Step 2: Stamped a fern stamp (Hero Arts) around the perimeter of the pages.
Step 3: A strip of the faux washi paper (see previous post) was added to the right page. We were to add a Haiku to the page "A Japanese poem usually written in 3 lines". I found several online and finally chose one that I liked and printed it on parchment coloured paper in red ink, then cut out and glued the word over the washi paper. Final touch was to add the handmade embellishment. In hindsight, maybe I should have added a moon somewhere on the page to match the Haiku?

NGS Art Lottery

Although I have already won this lottery I am continuing to make art for it as I feel the next person should also be lucky enough to receive a bunch of entries.

This month the theme is Asian. I decided to make an ATC for it.

The background is my Faux Washi paper that I made for one of my board book pages. I then added some Cool Glitter Ritz around the border. On the image (from Above the Mark) I added Warm Glitter Ritz. I stamped three butterflies (Hero Arts) on some scrap cardstock that I had coloured and attached them with double-sided foam tape.

I have to tell you that if you like glitter, you will LOVE this brand. It feels like velvet when you touch it!!