Showing posts with label direct-to-paper. Show all posts

Thursday, 15 September 2011

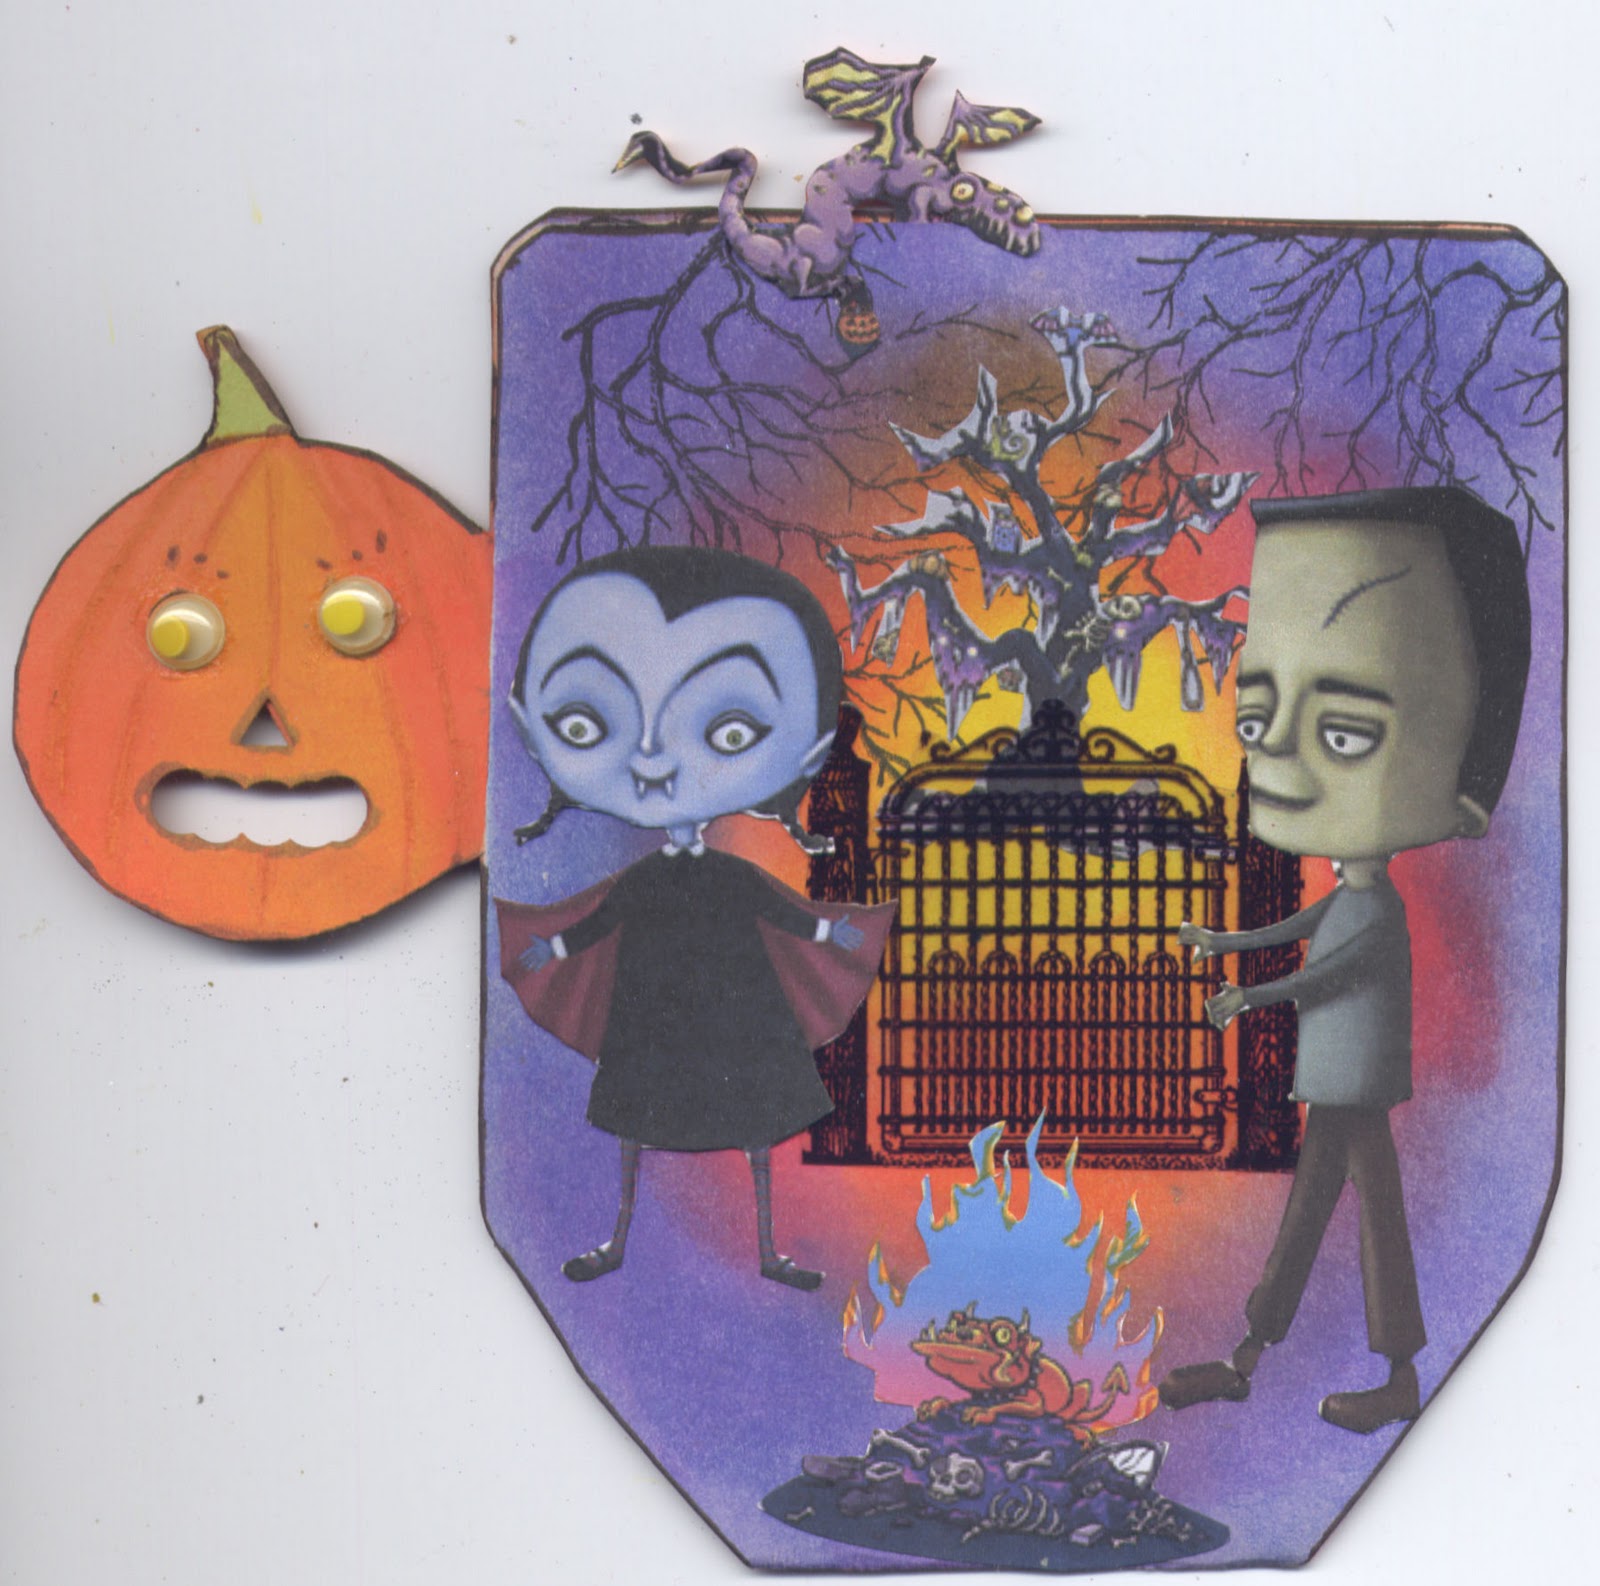
Halloween in a Teacup

On AFTCM there are a few Halloween swaps on the go, one being Halloween in a Teacup.

I was going to do a 3-D version, but due to postal costs decided to make it a double sided type of card with a pop-up in the middle.

I was low on ink in my printer, so I created my own template for a Mug and made handle a pumpkin shape.  I coloured the front with dye inks using the direct-to-paper technique using a Clearsnap stylus and foam tips. Stamped the Stampscapes stamp around the top then added images from Dover Art and Vintage Paintworks. Cut out the nose, eyes and mouth on the "pumpkins" with some punches.

The back is coloured with pigment ink and stamped with Stampscapes & Stampendous stamps, added a touch of Smooch ink to the rays in behind the pumpkin witch. Images are from Dover Art. 

I remembered that I had a bunch of "googly eyes" and decided to add them to the pumpkin handles.

The inside is stamped with Magenta and Stampscapes stamps, then images added from Dover Art and Lisa Vollrath's sayings.


Tuesday, 11 May 2010

D is for

We are continuing on with the Alphabet series and this time it is D. I chose distressing ink, dimension, dictionary words and Dream as my theme.

Lacking for any better ideas I decided on making a notebook. I started with the front cover and took a piece of cardstock and did direct-to-paper with the colorbox stylus and distress inks. I then stamped the image from Third Coast Rubber Stamps with Versafine inks. I masked it and stamped the wings (Tim Holtz) first with Brilliance sky blue then overstamped with Mica Magic gold. I left the mask in place and stamped the Dream background stamp with versafine ink.

I stamped a stars with gold mica magic. I had stamped a word stamp at the top left but did not like the effect so took some sequin waste and gold paint to cover it.

The word dream is done with chipboard letters from the dollar store embossed,  some stamped into while hot and one is covered with silver tape that I embossed in my Cuttlebug and coloured wih alcohol ink.
For the inside cover I took another piece of cardstock and covered it with dictionary words and covered it with an acrylic paint wash and edged the sides with copper acrylic paint. I  then added stamped images (Tim Holtz) and the quote stamp (Quietfire Designs). The little girl image is a piece I had in my stash for years, and it was from a magazine ad for collectors plates.


The back is just covered with some scrapbook paper that looks a bit aged and distressed.

Saturday, 20 February 2010

B is for.......

We are continuing on with the Alphabet swap on CCSwaps so this month we make something starting with the letter B, for theme, technique or medium.

I came across a blog with some beautiful exploding boxes on it (http://magic-boxes.blogspot.com/) and the lady was kind enough to provide a tutorial on how to make them. I thought I would give it a try and use butterflies as my theme.

The only problem is that the measurements are in millimeters and I am still not too great at the conversion from metric to inches!! I did fine with making the box but wasted quite a few pieces of cardstock getting the lid to the right size. My boxes certainly need more practice but I am happy with my first attempts. The first one I tried was my "protoype" for the technique. I used light weight blue card stock for the box and the lid and 130Lb for the inserts. I got a bit heavy handed when scoring and ripped a bit on one of the sides but left it as I knew I would be keeping it.

I stamped a leaf stamp (Magenta) and added some little die-cut flowers. The butterflies (Stampendous)  were stamped in black pigment ink and embossing powder and coloured yellow and green then added some glitter.


The next box: I stamped the butterflies on both sides using  Christmas Night glitter embossing powder and coloured them with markers and glittered the top with some Stickles. I stamped a leafy scroll on the side and bottom pieces after doing direct-to-paper with pigment inks and added some "jewels". I then cut slits in the bottom insert and attached the butteflies with pieces of acetate, and glued a butterfly to the lid.

The picture of the lid is fine (oops! I think the edge piece was a bit loose-will fix that!)  but the others are not the clearest as of course I had to take pictures of them with my camera and I am not that familiar with our camera since I don't take a lot of pictures. The colours are more intense in real life.

Wednesday, 17 June 2009

June Quote of the Month

The June quote was: "There is nothing on this earth more to be prized than true friendship."
Saint Thomas Aquinas.

A friend who used to teach at my local rubber stamp store invited a bunch of us over for an open house for stamping products and we did a couple of projects, one being a note card holder. I decided to use the idea for this month's Q.O.T.M.

The holder is simple and is just a single piece of cardstock creased and folded to hold the note cards. I then took another piece of 130 LB cardstock and colored it using direct-to-paper with pigment inks and overstamped it.

I stamped and colored the little girls and attached them to the front piece, then added the quote with a little frame. The holder is held together with a piece of ribbon.


Since I do not have an envelope die cut I used one of the envelopes from my sample and cut them out of fancy paper and edged them with decal scissors. I stamped little note cards to fit inside the envelopes.


Friday, 20 March 2009

Celebrate Spring

There is another swap "Celebrate Spring" for which I have been playing with an idea.
I drew out a bird from a template I found on the Internet. I did direct-to-paper with Colorbox pigment inks and added some Smooch ink around the edges.

I stamped some images and coloured them with Prismacolor and Lyra pencils. I added some stickers that my friend Cathee sent me in a recent swap. I cut the end of the tail and the wings with some scalloped scissors. I added the "spring" quotes (Hero Arts) and the little butterfly on the tail. The eye is a flower from a cheap dollar store bracelet.
I was not completely happy with this piece so I made another one and am much more satisfied with the result.

The second one was done by applying scrapbook paper to both sides of my template, then doing direct-to-paper over it with Fluid Chalk inks.

On the Blue & Yellow side I stamped a Magenta Flourish stamp with Vivid green. I took a butterfly shaped Grungeboard piece, covered it in Glitter Ritz and embossed it in the Cuttlebug. The word Fly is also Grungeboard, coloured with Mustard Seed & Peeled Paint distress inks and Yellow pigment ink. The bird and tulip are stickers and the eye is a piece of confetti and a gem.

The orange/red/coral side was stamped with a Magenta border flourish stamp with Versafine Satin Red. The flower is a sticker and I added a scroll die cut and the rivet eye. The brad was added to cover the end of the "wings" on this side.

The wings are Cuttlebug leaf die-cuts, which I coloured again with the Fluid chalks on both sides and added the Hero Arts "spring" words with the same inks that I used for the body.

Sunday, 28 September 2008

NGS Art Lottery

The theme for the NGS Art Lottery was flourishes/swirls. I purchased a new stamp set by Magenta which fits the bill. I decided to make an Artist trading card for this month.


I started by stamping the background using a technique I learned at my Local Rubber Stamp store, taught by Cathie Allen. It is called "stamp smooshie-smooshie". Basically, you load your stamp with ink, "slap" it down on the cardstock and then rub it around.


I added some flourishes in the same colour of Colorbox Chalk inks that I used for the base. Then I added the bird flourish Stamp in Versafine Onyx black. I stamped the image again on a piece of cardstock that I coloured with the Direct-to-Paper technique; cut it out and placed it on top of the bird portion of the stamped image on the ATC using thick double-sided tape.


This month's winner was Melissa, so I will be sending it off to her along with the two pages from the Chunky book house pages.